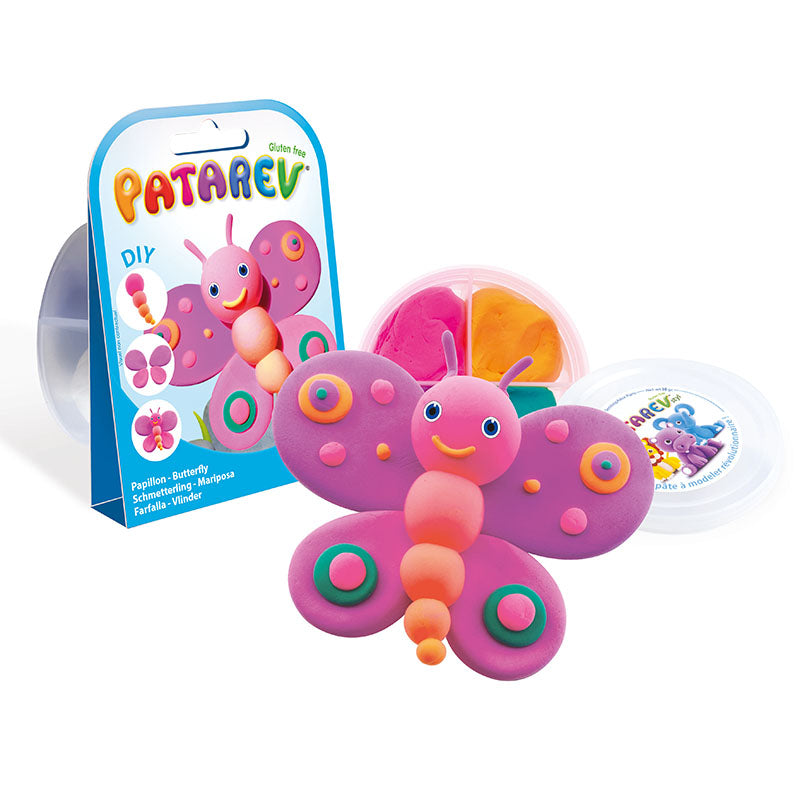
🛠️ Materials Needed:
✅ Patarev clay (various colours)
✅ Rolling pin or a smooth surface
✅ Craft knife or toothpick (for shaping letters)
✅ Wooden board or thick cardboard (for the base)
✅ Glue (optional) to attach letters to the base
✅ Acrylic paint & brush (optional for extra details)
✅ Glitter, stickers, or decorations (optional)
📝 Step-by-Step Instructions:
Step 1: Plan Your Name Design
-
Decide whether you want blocky, rounded, or cursive letters.
-
Sketch your name on paper to use as a guide.
Step 2: Roll Out the Patarev Air Dry Clay
-
Take each colour of Patarev and knead it until soft.
-
Use a rolling pin or your hands to flatten the clay to about 0.5 cm thick.
Step 3: Shape the Letters
✏ Option 1: Cut the letters from the flattened clay using a craft knife or toothpick.
🌀 Option 2: Roll the clay into thin ropes and form each letter by bending the ropes into shape.
Step 4: Add Details & Decorations
-
Outline letters with a contrasting colour.
-
Add patterns, glitter, or small decorations to each letter.
-
For a 3D effect, make each letter slightly thicker.
Step 5: Assemble the Name Sign
-
Place your letters onto a wooden board or thick cardboard.
-
You can arrange them flat or standing up.
-
Use a tiny bit of glue if you want them to stick permanently.
Step 6: Let It Dry
-
Allow the Patarev to air-dry for at least 12-24 hours.
-
Avoid moving the letters while drying.
Step 7: Optional Painting & Finishing Touches
-
Once dry, you can paint over letters for a glossy or metallic effect.
-
Spray a clear sealant or varnish for durability.
🎉 Your 3D Name Sign is Ready!
Now you have a personalised clay sign to decorate your space!